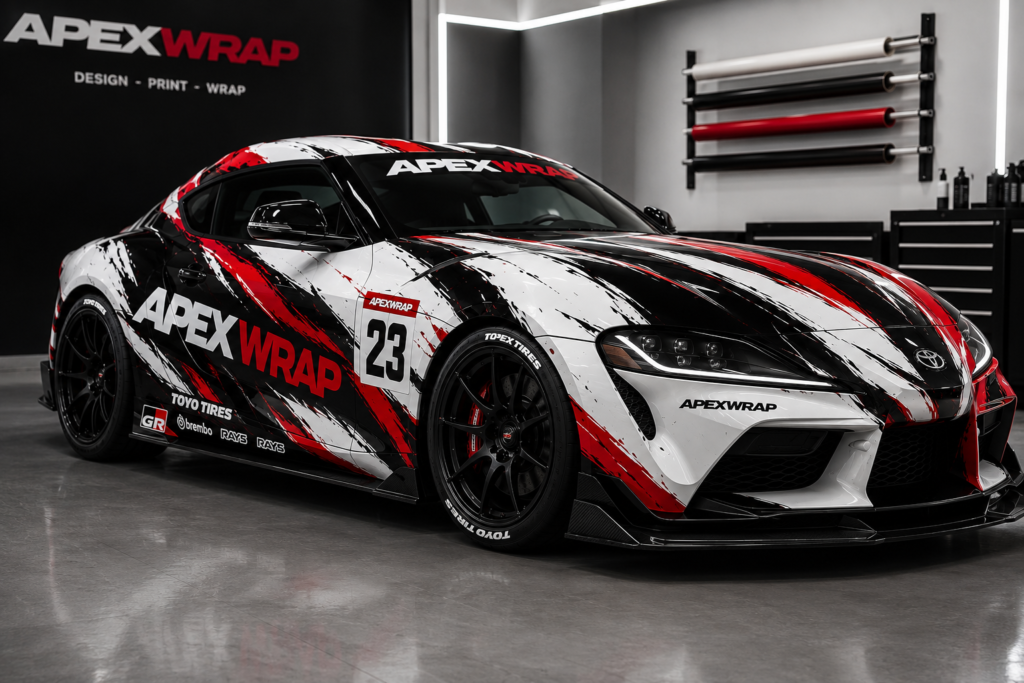
A custom car wrap kit can completely transform the look of your vehicle. It can make a simple car look aggressive, sporty, premium, or track-inspired without using permanent paint.
But the final result does not depend only on the design.
Installation matters just as much.
Even the best vinyl wrap kit can look bad if it is installed incorrectly. Air bubbles, wrinkles, poor alignment, stretched vinyl, and lifting edges can ruin the final appearance. That is why understanding the installation process is important before applying any custom car wrap kit to your vehicle.
Whether you are installing a racing car wrap kit, side decal kit, hood graphic, drift car livery, or full vehicle graphics kit, this guide will help you understand what to expect.
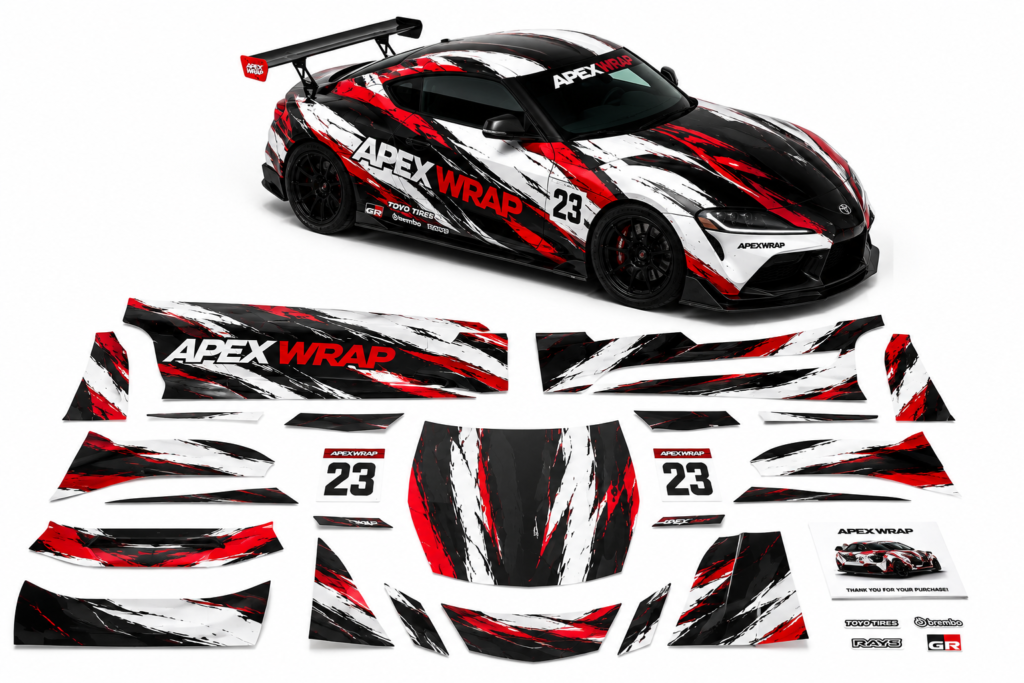
What Is a Car Wrap Kit?
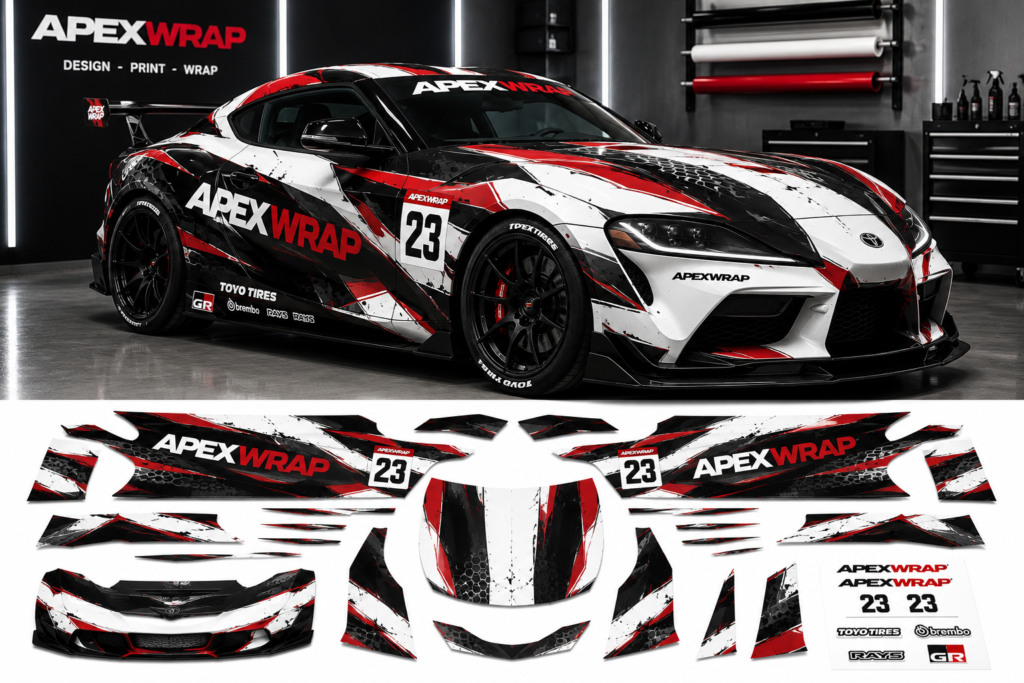
A car wrap kit is a set of vinyl graphics designed to be applied to specific areas of a vehicle. These graphics can be printed, cut, and prepared to match the style of the car.
A vinyl wrap kit can include:
Side graphics
Hood decals
Roof graphics
Door decals
Quarter panel graphics
Racing stripes
Sponsor-style decals
Custom vehicle livery sections
Full or partial car wrap designs
Unlike paint, vinyl wrap is applied over the vehicle surface. It can change the look of the car while keeping the original paint underneath.
Why Installation Quality Matters
A custom wrap kit is made to improve your car’s appearance. But if the vinyl is not installed correctly, the result can look unfinished or unprofessional.
Good installation helps the wrap look smooth, clean, and natural on the car. It allows the design to follow the body lines and stay in the right position.
Poor installation can cause:
Air bubbles
Wrinkles
Crooked graphics
Misaligned sections
Vinyl stretching
Tears during application
Lifting edges
Visible cuts
Poor adhesion
That is why professional installation is strongly recommended, especially for large or complex wrap kits.
Should You Install a Car Wrap Kit Yourself?
You can install small decals yourself if you have patience and basic experience. However, larger wrap kits are more difficult.
Side graphics, hood wraps, bumper sections, and racing livery designs require careful alignment. Once the vinyl touches the surface, it must be handled correctly to avoid damage.
DIY installation may work if:
The decal is small
The surface is flat
You have vinyl installation tools
You understand how to apply pressure correctly
You have experience with wrap film
You are patient and careful
Professional installation is better if:
The kit has large sections
The car has curved panels
The design needs exact alignment
The vinyl goes around edges
The car has body lines, vents, or widebody parts
You want the cleanest possible result
If you are not sure, choose a professional installer. It can save you time, stress, and money.
Tools Needed for Vinyl Wrap Installation
Installing a car wrap kit requires the right tools. Using the wrong tools can damage the vinyl or leave marks on the surface.
Common installation tools include:
Squeegee
Microfiber cloth
Heat gun
Precision knife
Measuring tape
Masking tape
Vinyl application gloves
Cleaning solution
Isopropyl alcohol
Surface cleaner
A clean workspace is also important. Dust, wind, dirt, and moisture can affect the final result.
Step 1: Clean the Vehicle Surface
Before applying any vinyl graphics, the vehicle surface must be completely clean.
The surface should be free from:
Dust
Dirt
Oil
Wax
Grease
Polish
Ceramic coating residue
Water
Rust
Loose paint
If the surface is not clean, the vinyl may not stick properly. This can cause lifting edges, bubbles, or weak adhesion.
Use a proper surface cleaner and dry the car fully before installation.
Step 2: Check the Wrap Kit Before Installation
Before applying the wrap, carefully inspect all pieces.
Check:
Design sections
Colors
Size
Printed details
Cut lines
Vehicle side orientation
Missing parts
Any visible damage
Do not start installation if something looks wrong. Contact the seller before applying the vinyl.
Once the wrap is installed, it becomes harder to prove if the issue came from production or installation.
Step 3: Position the Vinyl Before Applying
Alignment is one of the most important steps.
Before removing the backing paper, place the vinyl on the car and check the position. Use masking tape to hold it in place and see how it fits the panel.
Make sure the design lines match the car body. Check door gaps, fenders, hood lines, side skirts, and curves.
Take your time here. A few minutes of careful positioning can prevent a bad installation.
Step 4: Apply the Vinyl Slowly
Once the vinyl is positioned correctly, start applying it slowly.
Do not rush.
Use a squeegee to press the vinyl smoothly onto the surface. Work from the center outward to push air away from the design.
Avoid pulling too hard. Stretching the vinyl too much can distort the design and weaken the adhesive.
For large sections, it is better to have another person helping you.
Step 5: Use Heat Carefully
A heat gun can help the vinyl conform to curves, edges, and body lines. But too much heat can damage the material.
Heat should be used carefully and evenly.
Too much heat can cause:
Overstretching
Color distortion
Weak adhesive
Vinyl shrinking
Damage to the printed design
If you are not experienced with heat application, it is better to let a professional installer handle it.
Step 6: Trim and Finish the Edges
After the vinyl is applied, the edges must be trimmed and finished properly.
This step requires precision. Cutting too deep can damage the car paint. Cutting too close can cause the vinyl to lift later.
Edges should be smooth, clean, and secure.
This is one of the main reasons professional installation is recommended.
Common Installation Mistakes
Many wrap problems happen because of simple mistakes during installation.
Common mistakes include:
Installing on a dirty surface
Rushing the alignment
Using too much heat
Stretching the vinyl too much
Applying vinyl in a dusty area
Using sharp tools incorrectly
Ignoring body lines
Not sealing edges properly
Installing over damaged paint
Applying vinyl in very cold or very hot conditions
Avoiding these mistakes helps the wrap look better and last longer.
How to Care for Your Car Wrap After Installation
After installation, proper care helps protect the vinyl and keep the design looking sharp.
To care for your wrap:
Wash the car gently by hand
Use mild soap and water
Avoid harsh chemicals
Avoid abrasive brushes
Do not pressure wash too close to the edges
Avoid automatic car washes with hard brushes
Clean stains quickly
Park in shade when possible
Good maintenance can help extend the life of your vinyl wrap kit.
Can a Car Wrap Kit Be Removed?
Yes. Vinyl wrap can usually be removed by a professional.
However, removal results depend on the condition of the paint, how long the vinyl has been installed, the quality of the vinyl, and how it was applied.
If the car has old paint, repainting, rust, or damaged clear coat, removal may cause problems. That is why wrap should always be applied to healthy paint.
Why Vehicle Information Is Important
A wrap kit is prepared based on your vehicle details. If the wrong car model or year is provided, the kit may not fit correctly.
Before ordering, make sure you provide accurate:
Vehicle make
Vehicle model
Year
Generation
Body type
Trim version
Photos of the car, if needed
Information about modifications
This helps create a better fit and reduces the chance of problems during installation.
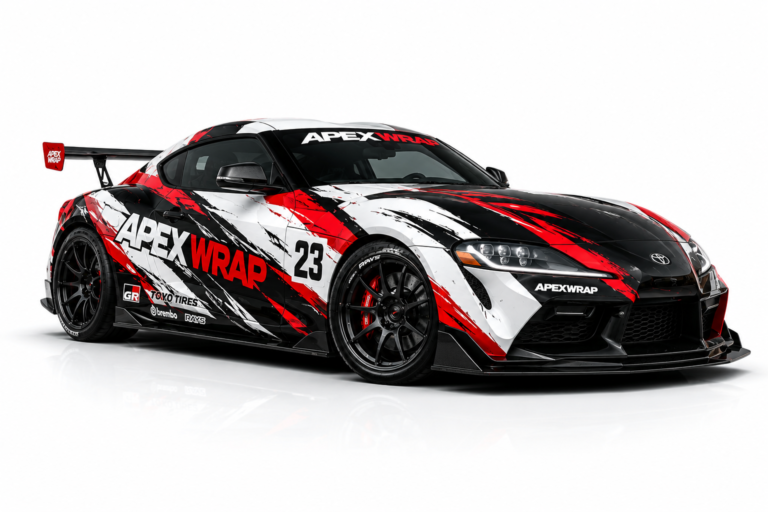
Best Cars for Custom Wrap Kits
Custom wrap kits can work on many types of vehicles, including:
Sports cars
Muscle cars
JDM cars
Drift cars
Racing-inspired builds
Modified street cars
Show cars
Business vehicles
Daily drivers
Whether you drive a Camaro, BMW, Mustang, Toyota Supra, Nissan, Dodge, Subaru, Volkswagen, or another model, a custom vinyl wrap kit can help your car stand out.
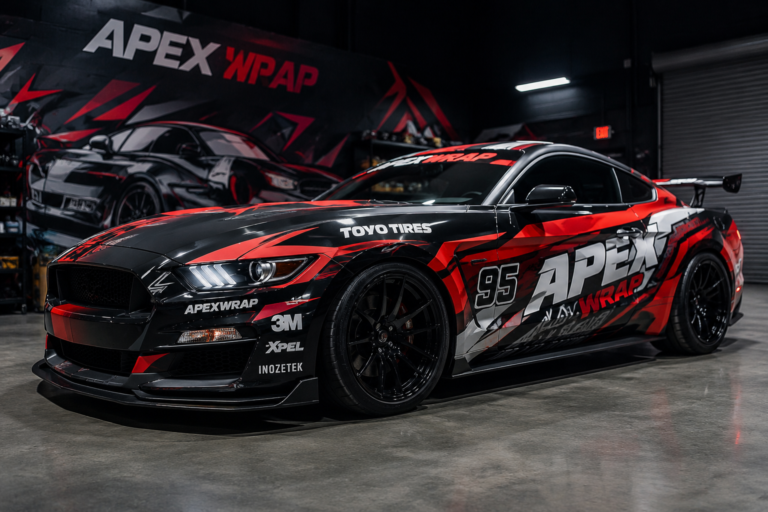
Why Buy a Custom Wrap Kit From ApexWrap?
At ApexWrap, we design custom car wrap kits for people who want their vehicles to look different.
We focus on bold designs, racing-inspired graphics, clean proportions, and custom vehicle styling. Our goal is to help you create a wrap kit that matches your car and your vision.
With ApexWrap, you can choose your style, customize the colors, provide your vehicle details, and create a wrap design made to stand out.
Final Thoughts
Installing a car wrap kit is not just about sticking vinyl on a vehicle. It is about preparation, patience, alignment, and detail.
A good design deserves a good installation.
If you want the best result, make sure your car is clean, the surface is ready, the wrap is checked before installation, and the vinyl is applied carefully. For larger or more complex wrap kits, professional installation is always the best choice.
A custom car wrap kit can completely change the way your vehicle looks.
But the real magic happens when great design meets clean installation.
Ready to Transform Your Car?
Explore ApexWrap custom car wrap kits and choose a design made to give your vehicle a bold, professional, and unforgettable look.
ApexWrap — Custom Vinyl Wrap Kits Made to Stand Out.